PNG to Rive Animation: How to Turn an Image Into a .riv File
By the Charmotion team · Updated
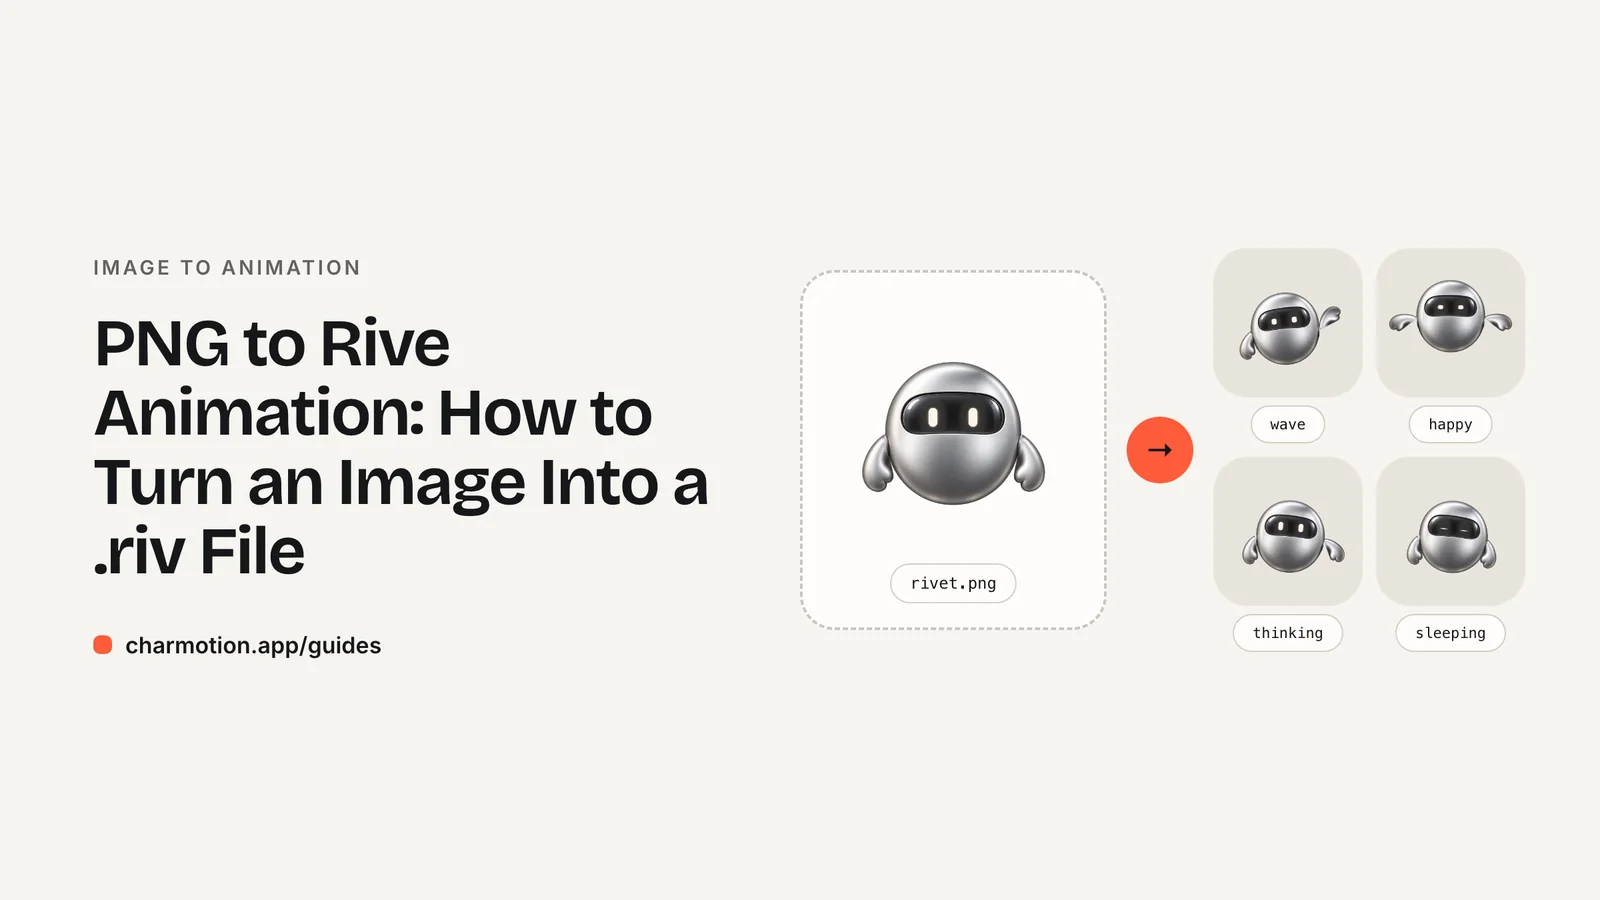
To turn a PNG into a Rive animation, import the image into the Rive editor, add a mesh so its pixels can bend, bind the mesh to bones, keyframe each animation, and connect them in a state machine before exporting the .riv. Rive also accepts JPEG, WebP and SVG; SVG becomes editable vector shapes, a PNG stays pixels.
Key takeaways
- Rive imports PNG, JPEG and WebP as raster images and converts SVG into editable vector shapes.
- A raster image moves as a flat rectangle until you give it a mesh; meshes plus bones are what make a PNG bend, squash and tilt.
- Cutting the character into separate images (head, body, arms) gives far more natural motion than deforming one flat picture.
- A useful .riv is more than one animation: plan the states your app needs and wire them into a state machine.
Already have a character or logo? Preview your own character animated in a phone splash, a website hero and an empty state — free, in your browser, nothing uploaded.
Can Rive animate a PNG?
Yes. Rive's editor imports PNG, JPEG and WebP images, plus SVG and Photoshop files. The difference matters: an SVG is converted into Rive vector objects you can edit point by point, while a PNG stays a bitmap. You can move, rotate and scale a bitmap straight away, but to make it bend you need a mesh.
Rive's own description of meshes is that they enable "natural, organic deformations to raster graphics": you draw a contour around the image, Rive triangulates it, and you can then move the vertices on a timeline or let bones move them. Only the area inside the contour renders, so you can even cut several parts out of one image with several meshes.
How should I prepare the PNG before importing?
- Transparent background. Remove the background first. Leftover halos show up on every color you later place the animation on.
- Front-facing, with space around limbs. Arms and legs that touch the body are hard to move without tearing the image.
- Split into parts if you can. Export head, body, each arm and accessories as separate PNGs from your design file. Separate parts can rotate around their own pivot; one flat image can only deform.
- Enough resolution. Rive scales vectors freely but bitmaps blur when enlarged, so export at the largest size the animation will be shown, at 2× for high-density screens.
If the character only exists as a single flat PNG and it has simple shapes and solid colors, tracing it to SVG first is often worth it: you then animate real vector parts and the .riv stays smaller.
How do I rig and animate it in the Rive editor?
Bones are Rive's skeleton. They can simply carry child objects (a hand follows the forearm), deform vector paths, or deform image meshes. When you bind a mesh to bones, Rive gives each bone a color and each vertex a weight you can paint, auto-weight and smooth.
- Import the PNG (or parts) by dragging them onto the stage.
- Add a mesh to each image in the Inspector's Deform section and draw its contour.
- Create bones for the parts that should bend: a spine for the body, a chain for each arm.
- Bind the mesh vertices to the bones and adjust weights until bending looks clean.
- Create one timeline per animation (idle, happy, wave and so on) and keyframe the bones.
Keep idle subtle and loopable, and make reactions short one-shots that return to the idle pose, so switching between them never jumps.
Why does the .riv need a state machine?
A .riv with loose timelines plays one animation. A state machine lets your app switch between them with a number, a boolean or a trigger, and blends the transitions. Rive now recommends driving state machines through data binding (a view model with properties) rather than the older inputs, and the newer runtimes are built around it.
A practical set for an app character looks like this:
| State | Type | Typical use |
|---|---|---|
| idle | loop | Default on every screen |
| happy, wave | loop | Greeting, onboarding |
| thinking, loading | loop | Waiting on a request |
| sad, sleeping | loop | Errors, empty states |
| listening, talking | loop | Chat and voice assistants |
| success, error, yes, no | one-shot | Reactions to a user action |
| enter, exit | one-shot | Showing and hiding the character |
Is there a faster way to get a .riv from a PNG?
Rigging and keyframing seventeen states by hand is days of work for most people. Charmotion does that step for you: upload the PNG and the engine traces flat artwork into vector parts (or, for detailed and 3D artwork, keeps your exact pixels and rigs them for squash, stretch, tilt and blinks), keyframes 17 animations and wires them into one .riv with both a data-binding view model and a classic state machine. The Studio plan includes the .riv plus transparent video and code; you can preview your own image in the browser first, free and without uploading.
Charmotion works best with flat, front-facing mascots and logo characters. Photos, painterly art and side views are a poor fit, and for those a human animator in the Rive editor is still the right call.
Turn a PNG into a Rive animation
- Prepare the image. Remove the background and, if possible, export the character's parts as separate PNGs.
- Import into Rive. Drag the PNGs onto the Rive stage. SVGs become vector shapes; PNG, JPEG and WebP stay bitmaps.
- Add meshes. Give each bitmap a mesh in the Deform section so its pixels can bend.
- Rig with bones. Create bone chains, bind mesh vertices to them and tune the weights.
- Keyframe the animations. Make one timeline per state: a loopable idle plus the loops and one-shots your app needs.
- Wire a state machine and export. Connect the timelines in a state machine driven by a view model or inputs, then export the .riv.
Frequently asked questions
Can I import a PNG into Rive?
Yes. The Rive editor imports PNG, JPEG and WebP images by drag and drop or from the Assets panel. They stay bitmaps; add a mesh if you want them to deform.
Is SVG better than PNG for Rive?
For flat artwork, usually. Rive converts an SVG into editable vector objects, so you can animate individual shapes and the file stays small and sharp at any size. PNG keeps exact pixels, which suits detailed or shaded art.
Will my .riv be larger with a PNG inside?
Yes, embedded bitmaps add their compressed size to the file, while vector shapes are described in a few bytes each. Export bitmaps no larger than you will display them.
Do I need a paid Rive plan to export?
Rive's plans differ in what they include, and they change over time. Check the current features on Rive's pricing page before you start a commercial project.
Quick answers from this guide
Sources
- Importing assets — Rive
- Meshes — Rive
- Bones — Rive
- State Machine — Rive
- Data Binding overview — Rive
- Rive pricing — Rive