How to Add Rive, Lottie and Video Animation to Webflow
By the Charmotion team · Updated
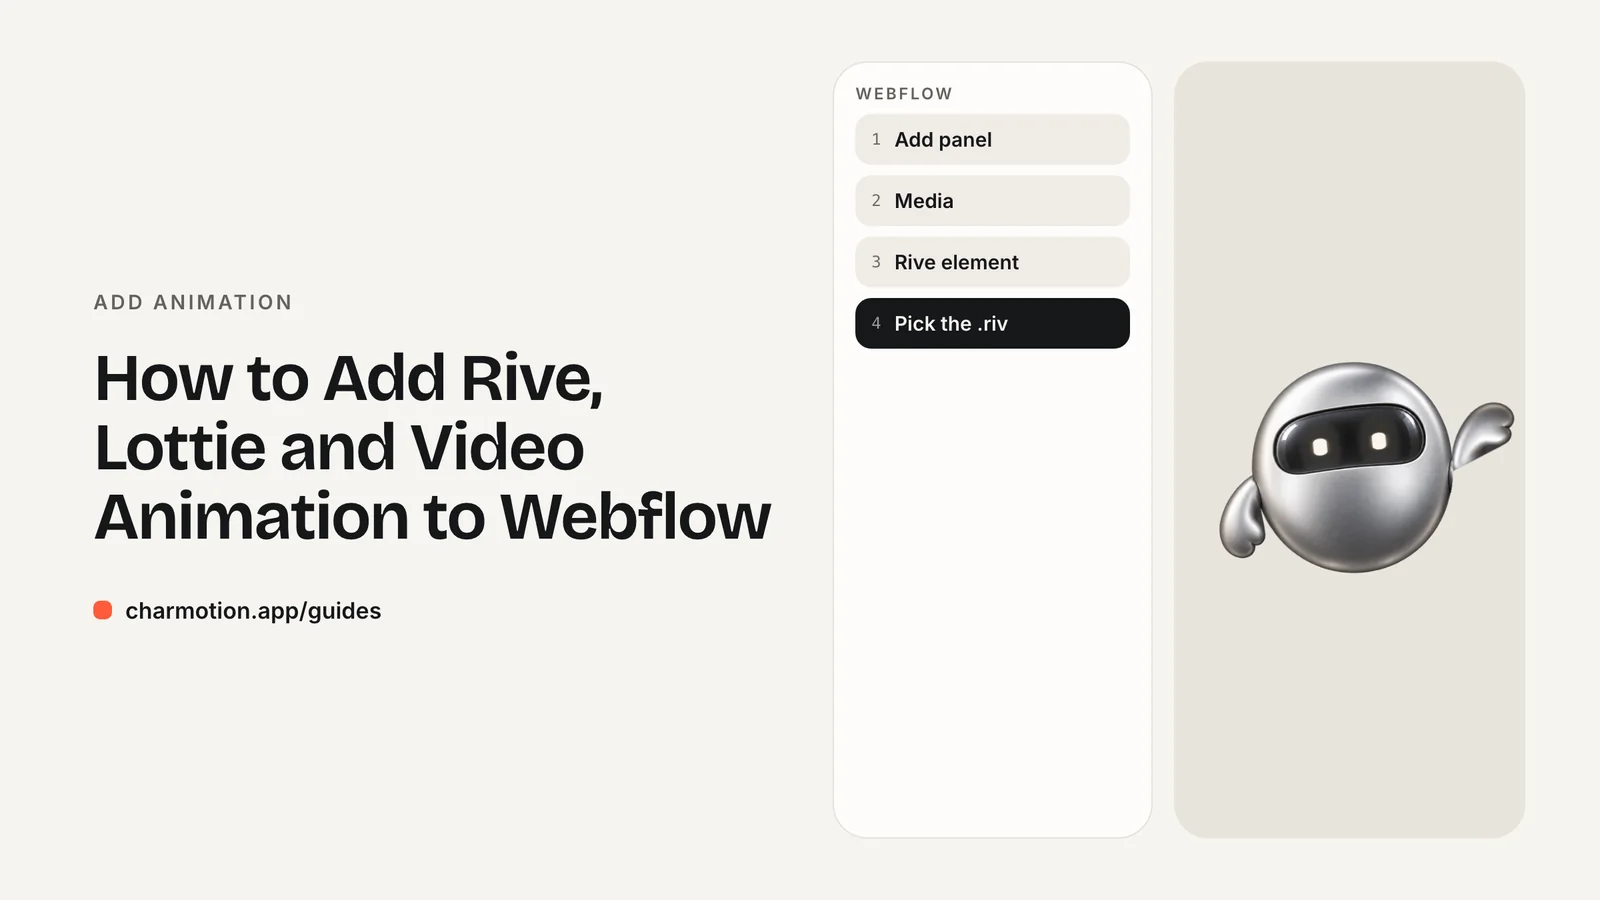
Webflow supports Rive natively: upload the .riv to the Assets panel, drag it onto the canvas, pick the artboard and state machine, and connect inputs to Webflow Interactions such as hover, click and scroll. Lottie has its own element for JSON and dotLottie files, and background video covers fixed clips. Use custom code for richer event logic.
Key takeaways
- Rive has been a native Webflow format since September 18, 2024.
- The Rive element lets you choose the artboard, state machine, fit and autoplay.
- Webflow Interactions can drive Rive state machines on hover, click and scroll.
- Lottie JSON and dotLottie files use Webflow's Lottie element.
- For moods tied to forms or API calls, load the Rive web runtime with custom code.
Already have a character or logo? Preview your own character animated in a phone splash, a website hero and an empty state — free, in your browser, nothing uploaded.
Does Webflow support Rive natively?
Yes. Rive and Webflow announced native support on September 18, 2024. In Rive's words, you can "drag and drop Rive's production-ready graphics into your Webflow project and connect them to Webflow interactions." The element exposes layout, autoplay and touch-scroll settings, plus event handling.
That makes Webflow the no-code builder with the most complete Rive support today. You do not need an embed, a script tag or a third-party library to show a .riv file, and the state machine inside the file keeps working: a character can idle on its own, react to a hover, and play a reaction on click.
What native support does not give you is arbitrary application logic. Interactions respond to page events (hover, click, scroll, page load). If you want the character to switch to a loading state while a form submits and celebrate when it succeeds, you need a few lines of custom code, covered in the last section.
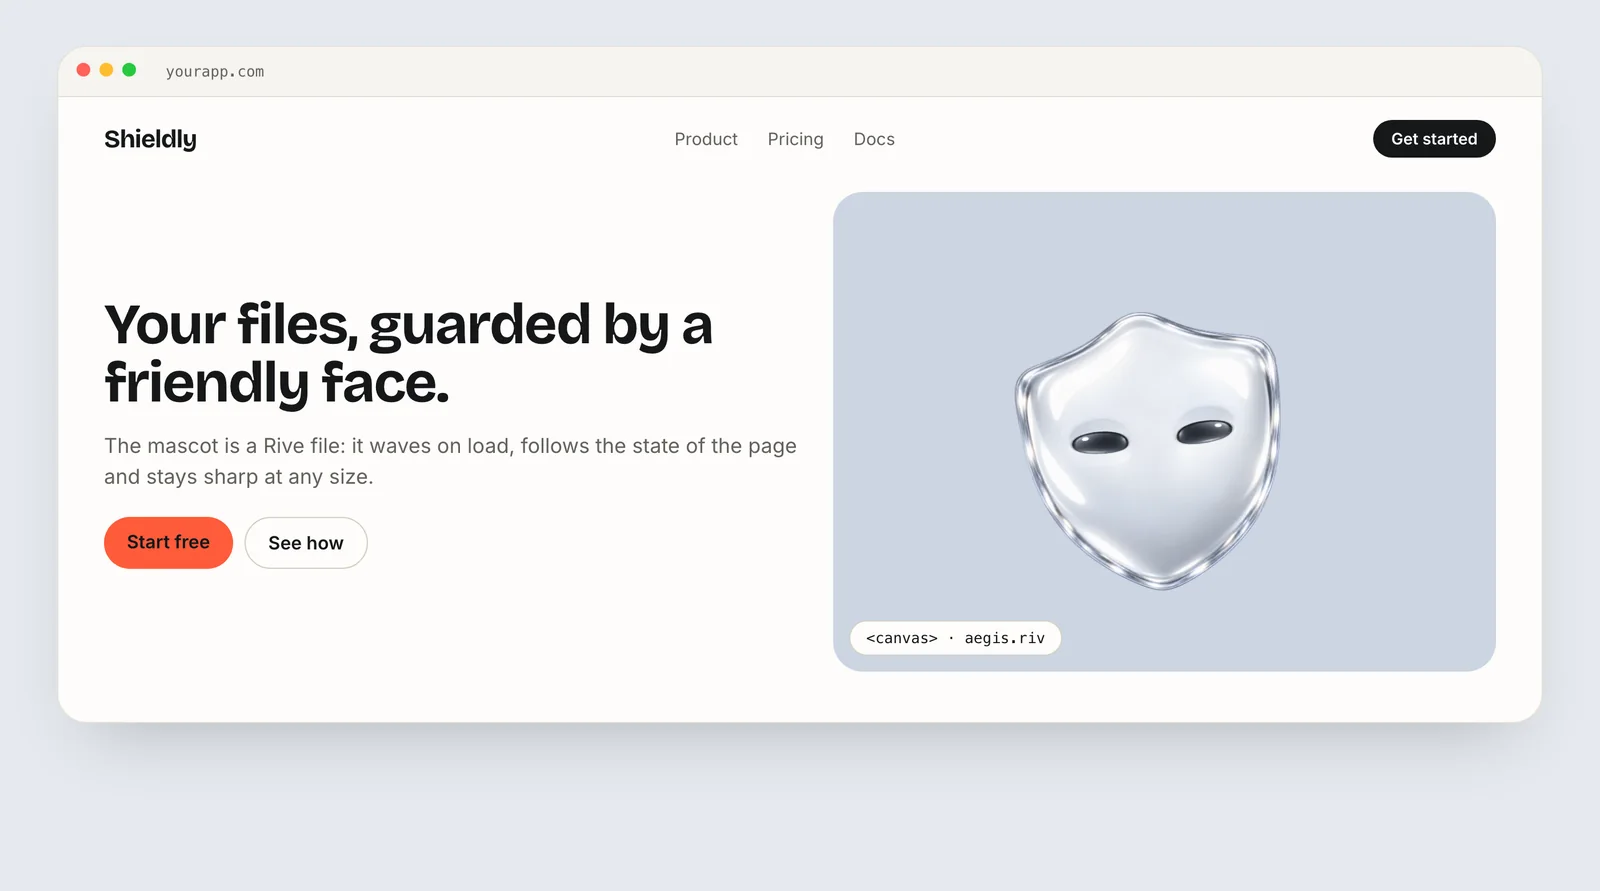
Rive files are usually small, which suits a hero section. A flat character with many states in one file is often tens of kilobytes, smaller than a single short video. The runtime itself is the larger download, so use Rive where it earns its place rather than on every page.
How do you add a .riv file in Webflow?
The workflow Rive describes has four steps:
- Upload the .riv file to the Assets panel.
- Drag it onto the canvas or into the Navigator. You can also insert it from the Add panel under Media.
- Configure it in the element settings: choose the artboard and the state machine, and set fit and autoplay.
- Connect the state machine to Interactions.
Choosing the state machine matters. If you leave it unset, the file plays its default animation and ignores inputs. A typical character file exposes a state machine such as CharacterStateMachine, with a mood number (0 idle, 1 happy, 2 wave, 3 thinking, 4 sad, 5 loading, 6 listening, 7 talking, 8 sleeping, 9 attention) and triggers such as success, yes and no. A file can hold several state machines, for example a separate one that plays an intro once and then idles.
Size the element with a fixed aspect ratio, for example a square box for a square artboard, and set fit to contain so the character is never cropped on smaller breakpoints.
How do you control a Rive animation with Webflow Interactions?
Create an interaction on the element that should cause the change, such as a button click, a section scrolling into view or a hover over a card. In the interaction's actions, target the Rive element and set a state machine input: change a number, toggle a boolean or fire a trigger.
Some useful patterns with a mood-based character:
- Hover a pricing card: set
moodto 1 (happy); on hover out, set it back to 0. - Click a call-to-action: fire
yesfor a quick nod before the link opens. - Scroll into the FAQ: set
moodto 3 (thinking). - Page load: fire
enterso the character arrives rather than popping in.
Keep loops calm. A mascot in a constant attention loop next to body text distracts readers, so reserve energetic moods for short moments and return to idle. Check Webflow's current documentation for which Rive properties Interactions can drive, including any data binding support.
How do you add Lottie or dotLottie in Webflow?
Webflow has a dedicated Lottie animation element. Drag it from the Add panel (under Media) onto the canvas, then select your Lottie JSON or dotLottie file. Like the Rive element, it can be controlled by Interactions, for example to play once when scrolled into view or to scrub with page scroll.
Lottie is a good fit for illustrations that play through: a hero scene, an icon sequence, a scroll-linked diagram. dotLottie files are compressed, so prefer them over raw JSON when your tool exports both.
Choose Rive over Lottie when the animation needs several states and reactions inside one file, such as a mascot that idles, waves on hover and celebrates on click. With Lottie you would typically build those as separate animations or segments and switch between them yourself. The Rive vs Lottie guide compares the two in detail.
When should you use a background video instead?
Use video for footage and for fixed clips that never need to react: a product demo, a looping brand animation, a montage. Webflow's Background Video element autoplays muted and loops, which suits hero sections.
Video has two limits for characters:
- No states. A video plays one sequence. Swapping between several clips on events is possible with code, but each clip is a separate download.
- Transparency is awkward. Browsers disagree on transparent formats: Chrome, Edge and Firefox render VP9-alpha WebM, while Safari needs HEVC with alpha in a .mov. A single uploaded file will not be transparent everywhere. To overlay a character on your design with video, use a custom code embed with both sources, as described in the transparent video guide.
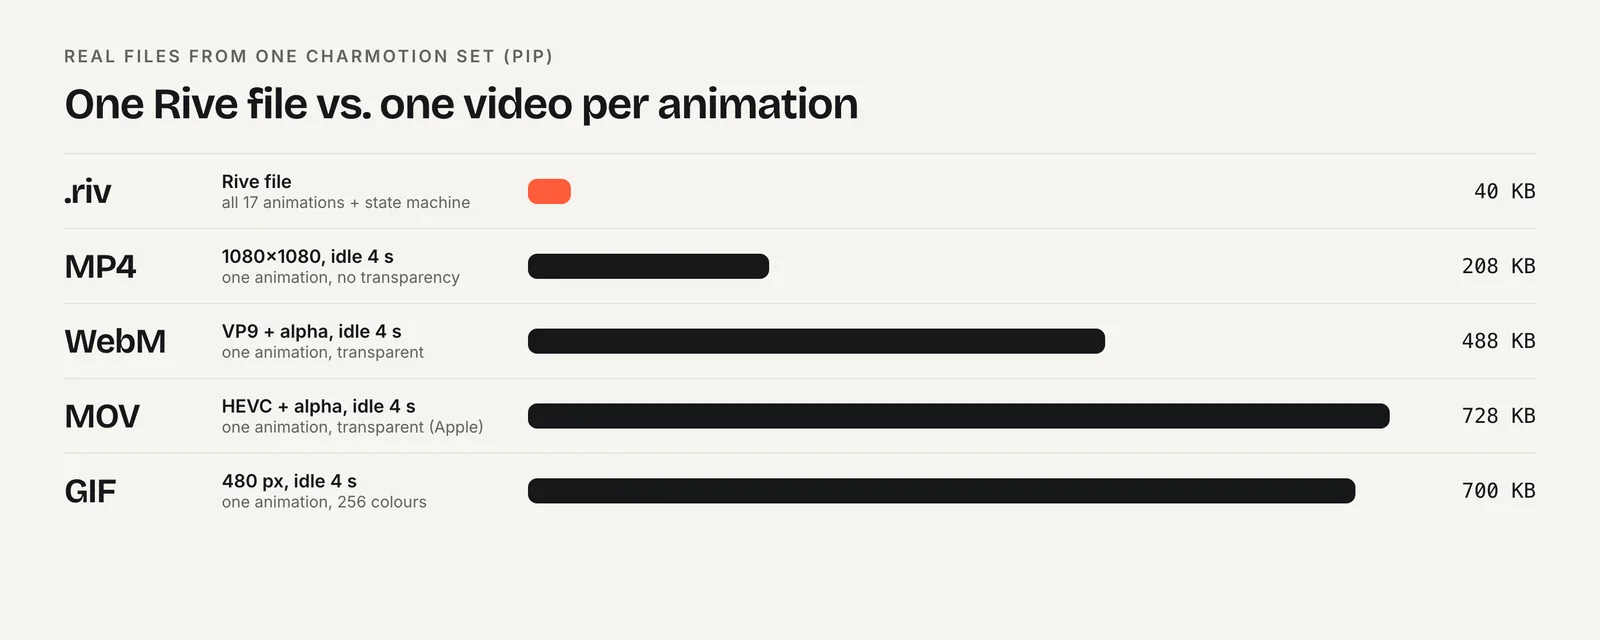
For a character, a .riv file is usually both smaller and more capable than video. The chart above compares one real set: all animations in a single 40 KB Rive file against 208–728 KB per four-second video.
How do you add a character with moods to a Webflow page?
When the character should follow events Interactions cannot see, such as a form submission or a fetch request, load the Rive web runtime yourself. Rive notes that its runtimes are fully supported with Webflow's custom code feature. Place a Code Embed element where the character should appear (custom code availability depends on your Webflow plan) and host the .riv as an asset:
<canvas id="mascot" width="400" height="400"
        role="img" aria-label="Animated mascot"></canvas>
<script src="https://unpkg.com/@rive-app/webgl2@2.44.2"></script>
<script>
  const reduce = matchMedia("(prefers-reduced-motion: reduce)").matches;
  const r = new rive.Rive({
    src: "https://your-asset-url/mascot.riv",
    canvas: document.getElementById("mascot"),
    stateMachine: "CharacterViewModelMachine",
    autoplay: !reduce,
    autoBind: true,
    onLoad: () => r.resizeDrawingSurfaceToCanvas(),
  });
</script>
<script>
  const form = document.querySelector("form");
  form.addEventListener("submit", () => {
    if (r.viewModelInstance) r.viewModelInstance.number("mood").value = 5; // loading
  });
</script>
This uses data binding: autoBind: true binds the file's view model, and you write the mood number or call trigger("success").trigger(). Charmotion's files include CharacterViewModelMachine for exactly this, alongside the input-based machine for native Webflow Interactions, so the same upload works in both places. Webflow's own form success state can then call the success trigger before showing its message.
How to add an interactive Rive character to Webflow
- Upload the file. Add the .riv to the Webflow Assets panel.
- Place the element. Drag the asset onto the canvas or Navigator, or insert it from the Add panel under Media.
- Pick the state machine. In the element settings, choose the artboard and state machine, set fit to contain, and turn on autoplay.
- Add Interactions. Create hover, click or scroll interactions that set the mood number or fire a trigger on the Rive element.
- Add code for app events. For form or API events, use a Code Embed with the Rive web runtime and set the view model from your handlers.
Frequently asked questions
Do I need custom code to use Rive in Webflow?
No. Since September 2024 Rive is a native Webflow format: upload the .riv, drag it onto the canvas, choose the state machine and connect it to Interactions. Custom code is only needed when the animation must react to events Interactions cannot detect, such as API responses.
Can Webflow play dotLottie files?
Yes. Webflow's Lottie animation element accepts both Lottie JSON and dotLottie files, and Interactions can control playback, for example playing on scroll into view. Prefer dotLottie when your export tool offers it, because the format is compressed and can bundle several animations, themes and state machines into a single file.
Why does my Rive animation in Webflow not react to Interactions?
Most often the state machine is not selected in the element settings, so the default animation plays and inputs are ignored. Also check that the input names and types in your interaction match the file exactly, including capitalization. Finally, confirm autoplay is on, since a paused state machine will not evaluate its transitions.
Quick answers from this guide
Sources
- Rive is natively supported in Webflow — Rive
- Lottie animations — Webflow Help Center
- Web (JS) runtime — Rive
- Data binding on the web — Rive
- Video with alpha transparency on the web — Jake Archibald