How to Use Rive in SwiftUI (iOS)
By the Charmotion team · Updated
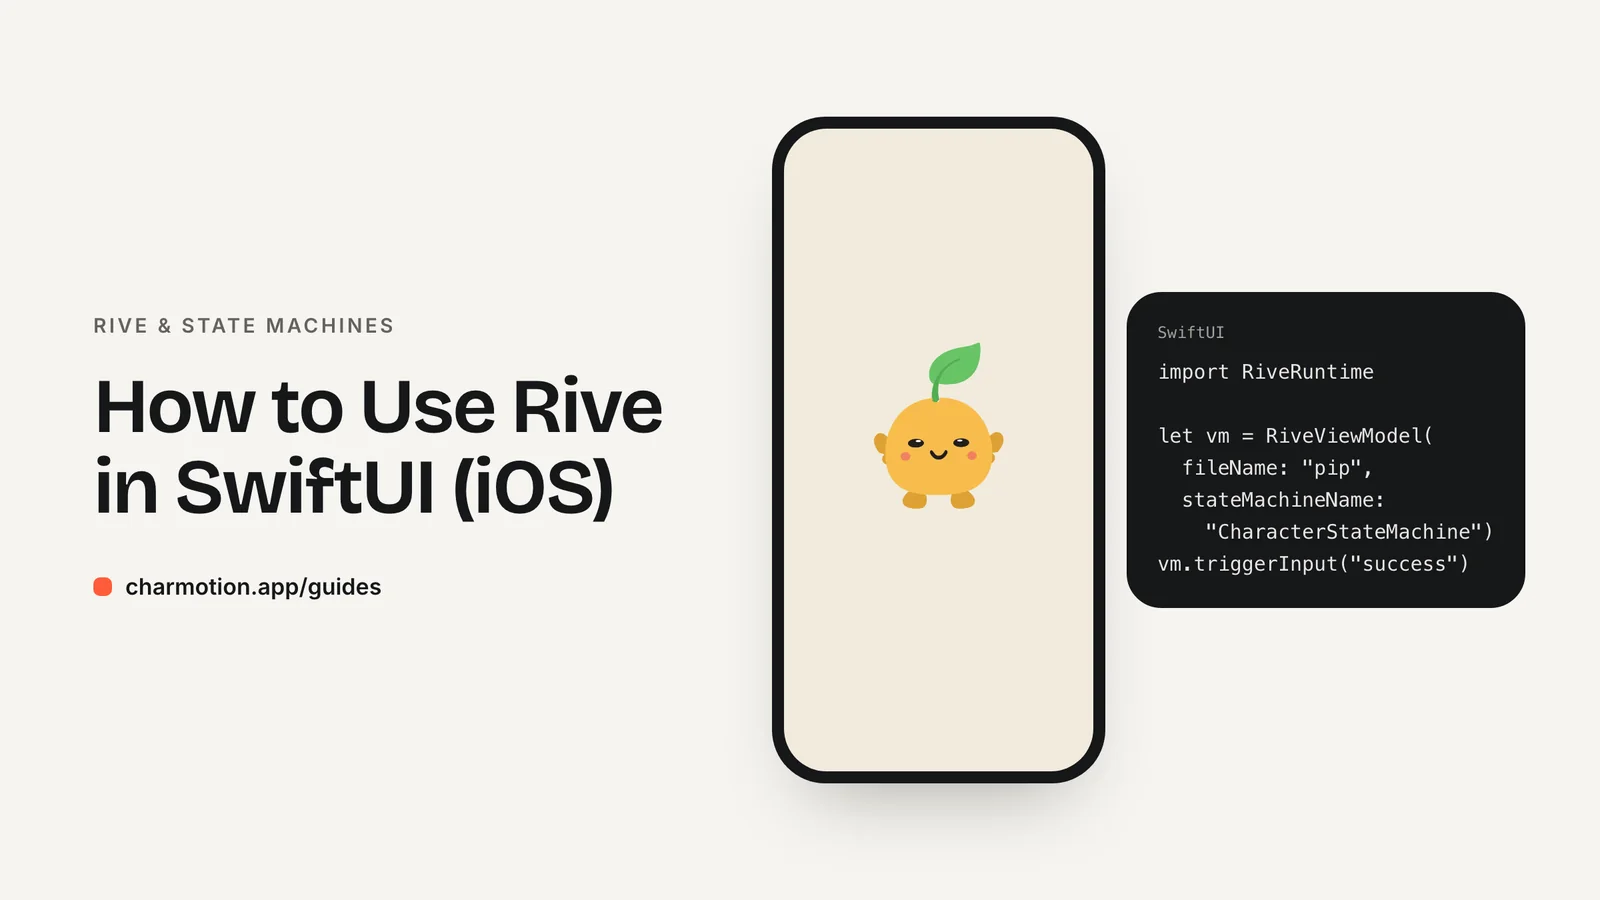
To use Rive in SwiftUI, add the RiveRuntime Swift package, create a RiveViewModel with your file and state machine name, and place viewModel.view() in your view. That is the legacy Apple runtime, which supports setInput and triggerInput. The new Apple runtime controls files through data binding instead.
Key takeaways
- Install RiveRuntime with Swift Package Manager or CocoaPods; it supports iOS 14 and later.
- The new and legacy Apple runtimes ship in the same package.
- Input APIs (setInput, triggerInput) work only in the legacy Apple runtime.
- The new runtime uses data binding, so the file needs view models.
How do I install RiveRuntime?
The Apple runtime is the RiveRuntime module from the rive-app/rive-ios repository. It is distributed through Swift Package Manager and CocoaPods.
With Swift Package Manager in Xcode: File → Add Package Dependencies, enter https://github.com/rive-app/rive-ios, choose a version rule, and add RiveRuntime to your app target. With CocoaPods, add the pod to your Podfile and run pod install.
Supported platforms, according to Rive's docs:
- iOS 14.0+
- visionOS 1.0+
- tvOS 16.0+
- macOS 13.1+
- Mac Catalyst 14.0+
The runtime adds roughly 1.67 MB to the download size and about 4.66 MB to the installed size on iOS (Rive's January 2026 figures). Each .riv file you bundle is extra, but usually small.
Add your .riv file to the app target like any other resource. Make sure its target membership is checked, or the runtime will not find it at launch.
What is the difference between the new and legacy Apple runtime?
Rive now ships two Apple APIs in the same Swift package and pod, both imported with import RiveRuntime.
| Legacy Apple runtime | New Apple runtime | |
|---|---|---|
| Main type | RiveViewModel | Data binding with view model instances |
| State machine inputs | Supported (setInput, triggerInput) | Not supported |
| Data binding | Available | The way to control files |
| Status | Still shipped and documented | Rive's direction for new work |
Rive's docs are explicit: the deprecated inputs feature "is only supported in the Legacy Runtime, not the New Runtime." This decides which API you use. If your .riv only exposes inputs, use the legacy runtime. If it has view models, you can use the new runtime.
To check, open the file in the Rive editor and look for view models in the data panel, or ask the file's author. The editor's Convert Inputs to View Models command can add view models to an input-based file.
How do I show a .riv in SwiftUI?
With the legacy runtime, create a RiveViewModel with the file name (without the extension) and the state machine name, keep it alive with @StateObject, and call .view() to get a SwiftUI view.
import SwiftUI
import RiveRuntime

struct CharacterView: View {
    @StateObject private var character = RiveViewModel(
        fileName: "character",
        stateMachineName: "CharacterStateMachine"
    )

    var body: some View {
        character.view()
            .frame(width: 220, height: 220)
            .accessibilityLabel("Animated character")
    }
}
Keep the view model in @StateObject (or in a parent object that owns it) so it is not recreated on every redraw. Recreating it restarts the animation and resets all inputs.
If several screens show the same character, give each its own RiveViewModel. A view model drives one view; sharing it between two visible views is not supported in the legacy API.
Size the view with .frame. The default fit keeps the artboard's aspect ratio inside the frame. If the character carries meaning, add an accessibility label; if it is decorative, use .accessibilityHidden(true).
How do I set a number input or fire a trigger?
In the legacy runtime, RiveViewModel exposes setInput(_:value:) for booleans and numbers (Float or Double) and triggerInput(_:) for triggers.
struct UploadView: View {
    @StateObject private var character = RiveViewModel(
        fileName: "character",
        stateMachineName: "CharacterStateMachine"
    )

    var body: some View {
        VStack(spacing: 24) {
            character.view().frame(width: 220, height: 220)
            Button("Upload") { Task { await upload() } }
        }
    }

    func upload() async {
        character.setInput("mood", value: 5.0)      // loading loop
        let ok = await performUpload()
        character.triggerInput(ok ? "success" : "error")
        character.setInput("mood", value: 0.0)      // back to idle
    }
}
Because the state machine owns the transitions, your code stays simple: set the loop that matches what the app is doing, and fire a trigger when something happens. You never need to know which animation is currently on screen.
Input names are case-sensitive and must match the file exactly. Firing a trigger and changing a number in the same moment is fine if the file is wired so that one-shots finish before returning to the current loop.
Remember that these calls are part of the deprecated inputs system and work only in the legacy Apple runtime. They are fine for existing input-based files; for new files, consider data binding.
How do I use data binding on iOS?
In the new Apple runtime, you control a file through its view model instance. You describe each property by its path and then set values or fire triggers on the instance:
let mood = NumberProperty(path: "mood")
viewModelInstance.setValue(of: mood, to: 5)

let success = TriggerProperty(path: "success")
viewModelInstance.fire(trigger: success)
Reading values back is asynchronous in the new runtime and uses try await. See Rive's Apple data binding page for how to obtain the view model instance for your file and how to observe property changes.
This only works if the .riv defines a view model with matching property paths. A file that exposes inputs only has nothing for these calls to bind to.
Charmotion files work with both Apple runtimes. With the legacy runtime, use RiveViewModel on CharacterStateMachine with setInput("mood", value:) and triggerInput(...). With the new runtime, create CharacterViewModelMachine bound to the Character view model and use NumberProperty(path: "mood") and TriggerProperty(path: "success"). The set includes ready-made SwiftUI files for both.
How do I honor Reduce Motion?
iOS users can turn on Settings → Accessibility → Motion → Reduce Motion. SwiftUI exposes that setting through the accessibilityReduceMotion environment value. Read it and show a static image instead of a looping character.
struct AdaptiveCharacter: View {
    @Environment(\.accessibilityReduceMotion) private var reduceMotion
    @StateObject private var character = RiveViewModel(
        fileName: "character",
        stateMachineName: "CharacterStateMachine"
    )

    var body: some View {
        if reduceMotion {
            Image("character-still")
                .resizable()
                .scaledToFit()
                .frame(width: 220, height: 220)
        } else {
            character.view().frame(width: 220, height: 220)
        }
    }
}
The environment value updates live, so the view switches if the user changes the setting while the app runs. If the animation communicates state, such as loading or success, keep that information available through text or an accessibility announcement so nothing is lost when the motion is removed.
Add a Rive character to a SwiftUI app
- Add the package. In Xcode, add
https://github.com/rive-app/rive-ioswith Swift Package Manager and linkRiveRuntimeto your target. - Bundle the file. Drag the .riv into the project and confirm it is a member of the app target.
- Pick the runtime. Use the legacy
RiveViewModelfor input-based files; use the new runtime only if the file has view models. - Show the view. Create
RiveViewModel(fileName:stateMachineName:)in a@StateObjectand place.view()with a.frame. - Drive the states. Call
setInput("mood", value: 5.0)for loops andtriggerInput("success")for one-shots. - Respect Reduce Motion. Read
@Environment(\.accessibilityReduceMotion)and show a static image when it is true.
Frequently asked questions
Why does setInput do nothing in my iOS app?
The most common causes are a wrong state machine or input name, or using the new Apple runtime, which does not support inputs. Check names for exact case and spacing, confirm you created a RiveViewModel with stateMachineName, and make sure the view model is held in @StateObject rather than recreated.
Does Rive work with UIKit as well as SwiftUI?
Yes. RiveRuntime supports both. In the legacy runtime, RiveViewModel can create a UIKit view as well as a SwiftUI view, and the same setInput and triggerInput calls control it. Rive's Apple documentation covers the UIKit setup alongside SwiftUI, so you can mix both in one app.
Which iOS versions does Rive support?
Rive's Apple runtime supports iOS 14.0 and later, plus visionOS 1.0+, tvOS 16.0+, macOS 13.1+ and Mac Catalyst 14.0+. Both the new and legacy Apple runtimes ship in the same Swift package, so the minimum versions apply to either API.
Can I use a Rive file in a widget or launch screen?
Not as a live animation in the launch screen. iOS launch screens are static and configured through Info.plist or a storyboard without custom code, so play your Rive intro in the first real view instead. Widgets are also rendered as snapshots, so treat them as static images.
Sources
- Apple runtime — Rive
- Apple runtime: Inputs (legacy) — Rive
- Apple runtime: Data binding — Rive
- Data binding migration guide — Rive
- Runtime sizes — Rive
- accessibilityReduceMotion — Apple
- Specifying your app's launch screen — Apple