How to Use Rive in React and Next.js
By the Charmotion team · Updated
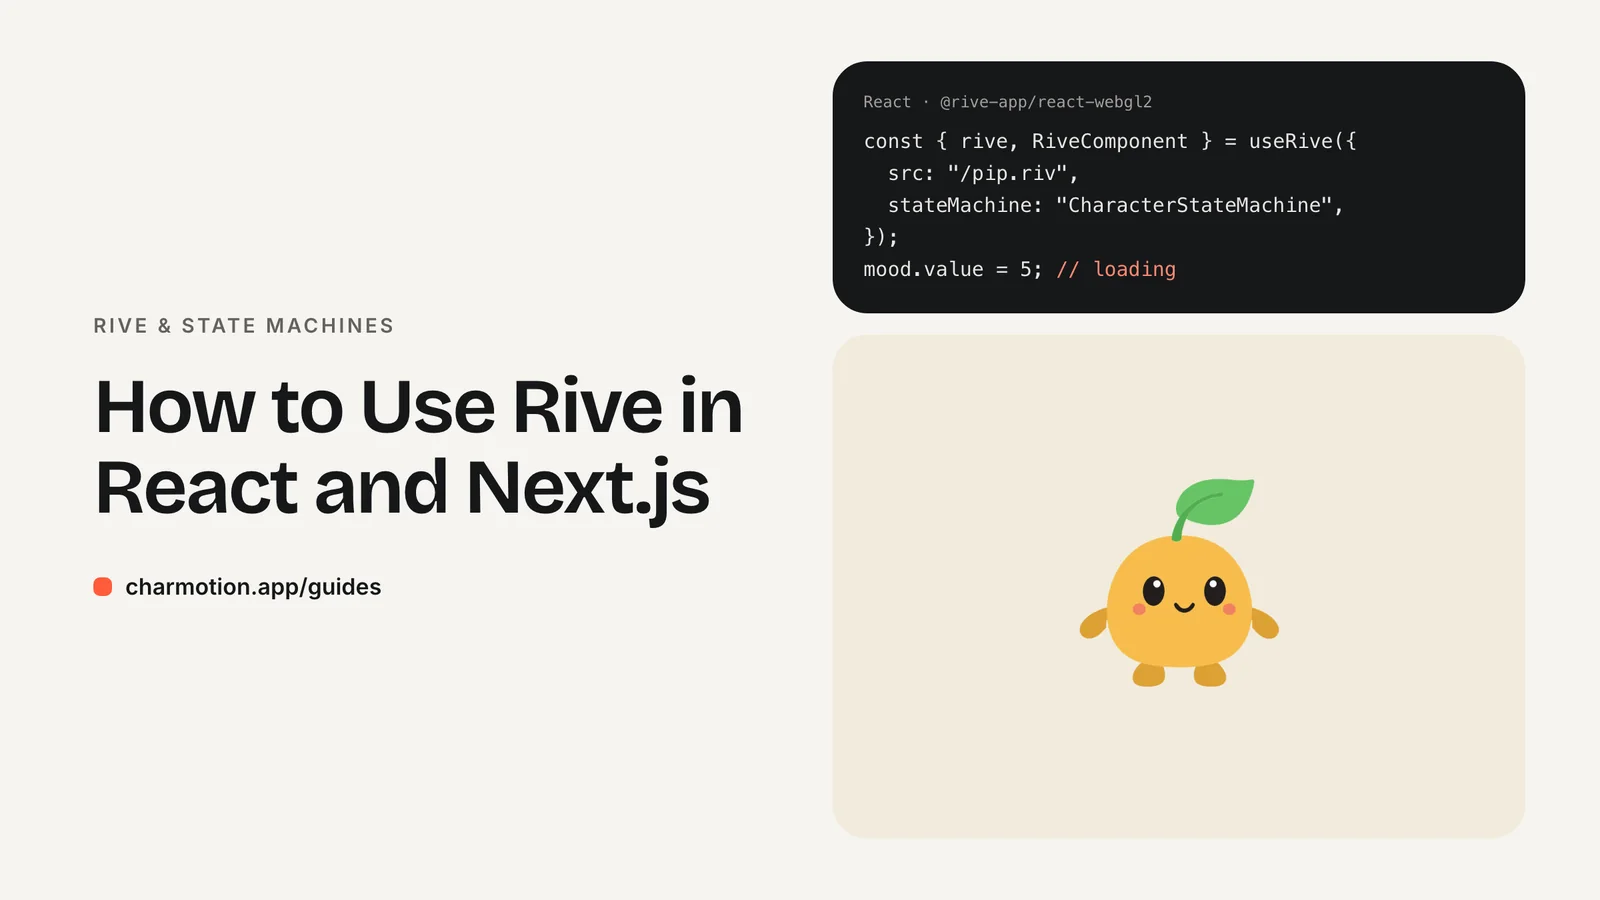
To use Rive in React, install @rive-app/react-webgl2, call useRive({ src, stateMachine, autoplay: true }), and render the returned RiveComponent. Change states with useStateMachineInput for input-based files or the view model hooks for data-bound files. In Next.js, render it in a client component.
Key takeaways
- Rive recommends @rive-app/react-webgl2 for most projects; react-canvas still works.
- useRive returns the rive instance and a RiveComponent to render.
- useStateMachineInput controls legacy inputs; view model hooks control data-bound files.
- In Next.js, put Rive in a "use client" component or load it with ssr: false.
Which Rive React package should I install?
Rive publishes three React packages from the rive-react repository. They share the same API and differ in how they draw:
| Package | Renderer | When to use |
|---|---|---|
@rive-app/react-webgl2 | Rive Renderer on WebGL2 | Default choice; supports all features including vector feathering |
@rive-app/react-canvas | Browser Canvas2D | Many instances on one page, or where WebGL is unavailable |
@rive-app/react-canvas-lite | Canvas2D, reduced feature set | Smallest download when the file doesn't need the missing features |
npm install @rive-app/react-webgl2Rive's web docs now say to use WebGL2 for most cases. One caveat: browsers cap the number of WebGL contexts per page. If a page shows many Rive animations at once, either use the canvas package or pass useOffscreenRenderer: true so all instances share one offscreen context.
The runtime is a WASM module, so it is the largest part of the cost. Rive lists the canvas WASM at 567 KB and the WebGL2 build at 648 KB after brotli compression (January 2026). Load it only on routes that need it.
How do I render a .riv file with useRive?
Put the .riv in your static folder (for example public/character.riv) and call useRive. The hook returns the rive instance, which is null until the file loads, and a RiveComponent that renders the canvas.
import { useRive } from "@rive-app/react-webgl2";

export function Character() {
  const { rive, RiveComponent } = useRive({
    src: "/character.riv",
    stateMachine: "CharacterStateMachine",
    autoplay: true,
  });

  return (
    <div style={{ width: 240, height: 240 }}>
      <RiveComponent aria-label="Animated character" />
    </div>
  );
}
RiveComponent fills its parent, so size the wrapper, not the canvas. Give it an accessible label if it carries meaning, or hide it from assistive technology if it is purely decorative.
Use the singular stateMachine option. Rive's web runtime replaced the plural stateMachines parameter in v2.41.0, and older tutorials still show the plural form. If you omit the state machine, the file plays its default animation instead, and your inputs will not respond.
How do I change state from React?
How you control the file depends on what the file exposes.
Files with state machine inputs (legacy)
useStateMachineInput(rive, stateMachineName, inputName) returns the input once the file has loaded. Set .value on numbers and booleans; call .fire() on triggers.
import { useEffect } from "react";
import { useRive, useStateMachineInput } from "@rive-app/react-webgl2";

const SM = "CharacterStateMachine";

export function Character({ mood, successCount }: { mood: number; successCount: number }) {
  const { rive, RiveComponent } = useRive({ src: "/character.riv", stateMachine: SM, autoplay: true });
  const moodInput = useStateMachineInput(rive, SM, "mood");
  const success = useStateMachineInput(rive, SM, "success");

  useEffect(() => {
    if (moodInput) moodInput.value = mood;
  }, [moodInput, mood]);

  // Fire the one-shot whenever the parent bumps successCount.
  useEffect(() => {
    if (successCount > 0) success?.fire();
  }, [success, successCount]);

  return (
    <div style={{ width: 240, height: 240 }}>
      <RiveComponent />
    </div>
  );
}
Files with view models (data binding)
Pass autoBind: true, then use the view model hooks with rive?.viewModelInstance:
const { rive, RiveComponent } = useRive({ src: "/character.riv", stateMachine: SM, autoplay: true, autoBind: true });
const vmi = rive?.viewModelInstance;
const { value: mood, setValue: setMood } = useViewModelInstanceNumber("mood", vmi);
const { trigger: celebrate } = useViewModelInstanceTrigger("success", vmi);You can also fire a trigger directly from an event handler, such as a button's click handler, with success?.fire().
Rive recommends data binding for new work, but input-based files keep working in React. Use whichever API matches the file.
Both hook styles return nothing useful until the file has loaded, so guard every call with optional chaining. Drive values from props or state, as in the useEffect above, rather than calling the runtime during render. That keeps the animation in sync with your UI state and makes it easy to test the component with plain props.
How do I use Rive in the Next.js App Router?
Rive draws to a canvas in the browser, so it must run in a client component. In the App Router, components are server components by default. Mark the file that calls useRive with "use client" at the top:
"use client";

import { useRive } from "@rive-app/react-webgl2";

export default function HeroCharacter() {
  const { RiveComponent } = useRive({
    src: "/character.riv",
    stateMachine: "CharacterStateMachine",
    autoplay: true,
  });
  return <div className="h-60 w-60"><RiveComponent /></div>;
}
Then import it from a server page as usual. The page still renders on the server; only this component hydrates in the browser.
Keep the .riv in public/ so it is served as a static asset with a stable URL. Reserve the box size in CSS so the layout doesn't shift when the canvas appears. For a hero animation, a static poster image behind the canvas avoids an empty box during load.
In the Pages Router the same rule applies: Rive must only run in the browser. Use the dynamic import pattern in the next section if you see server-side errors.
How do I fix "window is not defined"?
The error means code that needs browser globals ran during server rendering. With Rive it usually happens when the component is rendered by a server component, or when the Rive package is imported in a module that the server evaluates.
Fixes, in order of preference:
- Make sure the component that imports Rive starts with
"use client". - If the error persists, load the component only in the browser with
next/dynamic:
"use client";

import dynamic from "next/dynamic";

const HeroCharacter = dynamic(() => import("./HeroCharacter"), {
  ssr: false,
  loading: () => <img src="/character-poster.png" alt="" width={240} height={240} />,
});
In recent Next.js versions, ssr: false is only allowed inside a client component, which is why the wrapper above is marked "use client" too.
- Never touch
window,documentor the Rive instance at module top level. Do it insideuseEffector event handlers, which only run in the browser.
Lazy loading with ssr: false also keeps the WASM runtime out of the initial bundle, which helps pages where the animation is below the fold.
How do I respect prefers-reduced-motion?
Users can ask the operating system to reduce motion, and browsers expose that through the prefers-reduced-motion media query, which has been widely available since 2020. Honor it for any looping character.
"use client";

import { useEffect, useState } from "react";

function usePrefersReducedMotion() {
  const [reduce, setReduce] = useState(false);
  useEffect(() => {
    const mq = window.matchMedia("(prefers-reduced-motion: reduce)");
    setReduce(mq.matches);
    const onChange = () => setReduce(mq.matches);
    mq.addEventListener("change", onChange);
    return () => mq.removeEventListener("change", onChange);
  }, []);
  return reduce;
}

export function MaybeAnimated() {
  const reduce = usePrefersReducedMotion();
  return reduce
    ? <img src="/character-poster.png" alt="" width={240} height={240} />
    : <Character mood={0} successCount={0} />;
}
Rendering a static image for reduced motion is the safest option, and it also skips the runtime download. If the character conveys state, such as loading, keep that meaning in text or an accessible status message. See accessible animation and reduced motion for the WCAG side.
Add a Rive animation to a React or Next.js app
- Install the runtime. Run
npm install @rive-app/react-webgl2(or@rive-app/react-canvasfor many instances on one page). - Add the file. Place the .riv in
public/so it is served at a stable URL such as/character.riv. - Create a client component. Start the file with
"use client"and calluseRive({ src, stateMachine, autoplay: true }). - Render and size it. Render
RiveComponentinside a wrapper with a fixed width and height. - Control the state machine. Use
useStateMachineInputfor input-based files, orautoBind: truewith the view model hooks for data-bound files. - Handle reduced motion. Check
prefers-reduced-motionand render a static poster image instead when it is set toreduce.
Frequently asked questions
Should I use @rive-app/react-canvas or @rive-app/react-webgl2?
Use @rive-app/react-webgl2 for most projects; Rive recommends it and it supports features like vector feathering. Choose @rive-app/react-canvas when a page shows many animations at once and you want to avoid WebGL context limits, or when WebGL is unavailable. Both expose the same API.
Why is my Rive input null in React?
useStateMachineInput returns null until the file has loaded and the state machine is running. Guard calls with optional chaining, pass the exact state machine name to both useRive and the hook, and check input names for case and spacing. Files converted to view models no longer have inputs.
Does Rive work with React Server Components?
Rive components must run in the browser, so they cannot be server components. Put the Rive code in a component marked "use client" and import it from a server component. The server renders the surrounding page while the Rive component hydrates and draws on the client.
Can I use stateMachines instead of stateMachine?
Older code uses the plural stateMachines option, which Rive deprecated in web runtime v2.41.0 in favor of the singular stateMachine. Old code may still run, but new code should use stateMachine to match current documentation and avoid future breakage when deprecated options are removed.
Sources
- React runtime — Rive
- React runtime: Inputs (legacy) — Rive
- Canvas vs WebGL2 — Rive
- Web runtime: State machines — Rive
- Runtime sizes — Rive
- Data binding migration guide — Rive
- prefers-reduced-motion — MDN
- Runtimes: Getting started — Rive