How to Add a Mascot to Onboarding and Empty States
By the Charmotion team · Updated
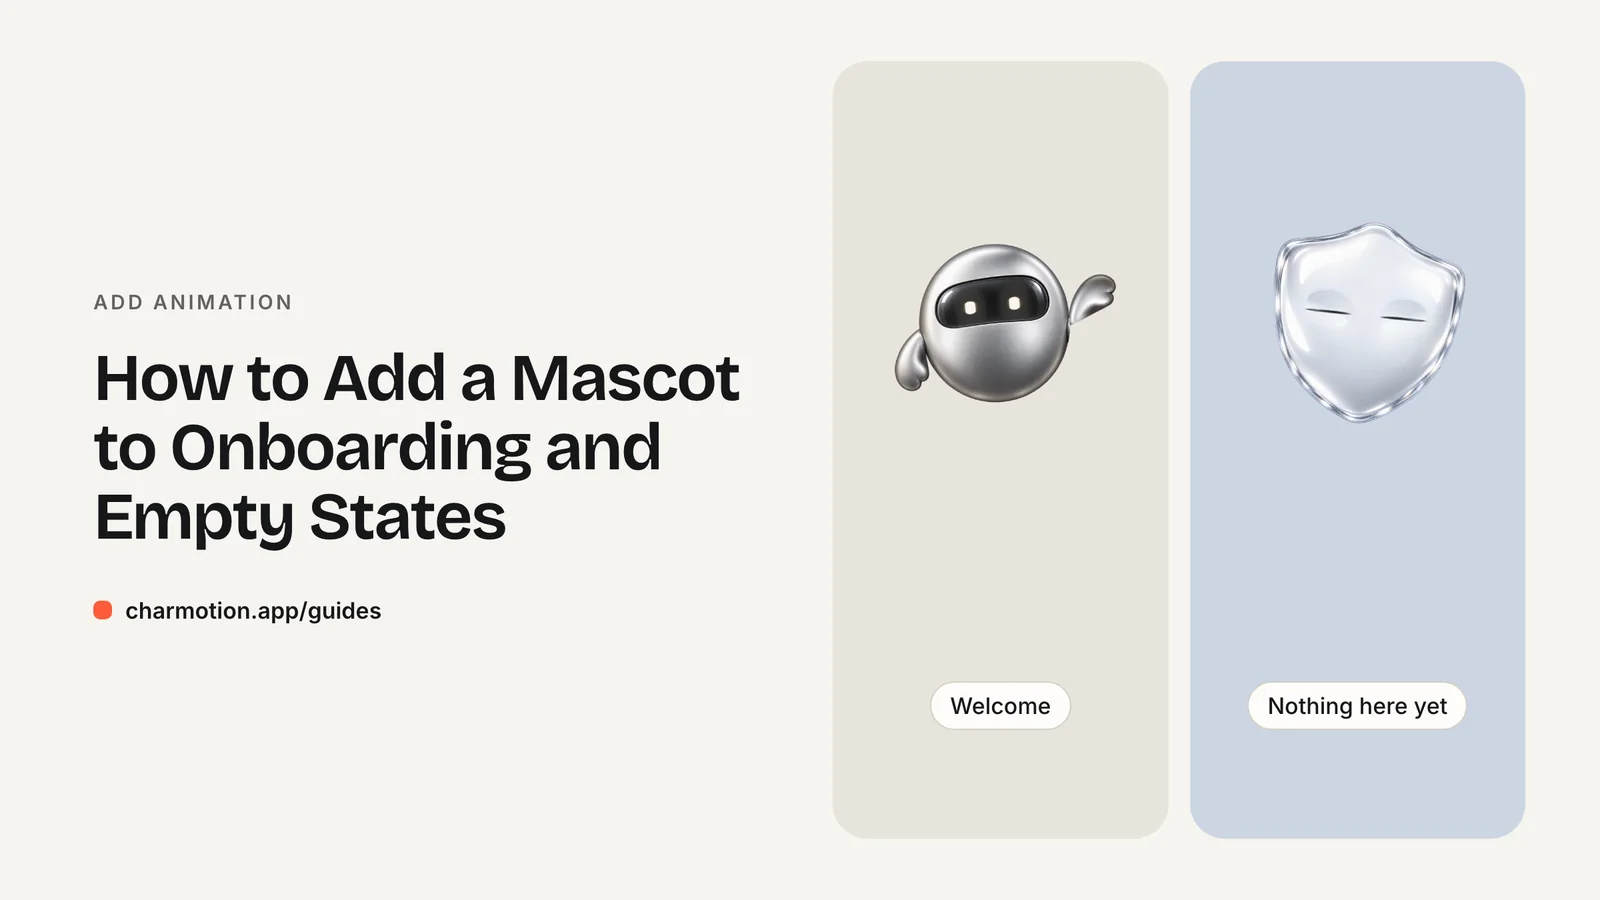
To add a mascot to onboarding and empty states, list each step and empty screen, assign it one looping mood (welcome, listening, sleeping) or one-shot reaction (success, error), and set that state from your existing app events. Keep text and buttons doing the work, and let users skip or pause the motion.
Key takeaways
- Map screens to states before animating: one mood per step, one trigger per outcome.
- Drive the mascot from events you already have, such as focus, submit, success and error.
- Empty states need a calm loop plus a clear action; the mascot sets tone, the button does the job.
- Long loops next to content need a way to pause or stop under WCAG 2.2.2, and reduced motion should get a still pose.
Already have a character or logo? Preview your own character animated in a phone splash, a website hero and an empty state — free, in your browser, nothing uploaded.
Where does a mascot help, and where does it annoy?
A mascot helps in moments that are otherwise empty or uncertain: the first screen of onboarding, a form waiting for input, a list with nothing in it yet, the confirmation after a first success. It annoys when it gets in the way of the task.
Good fits:
- A welcome screen where the character greets the user once.
- A sign-up or setup form where it "listens" while the user types.
- The moment a step succeeds or fails, as a short reaction.
- Empty lists, inboxes and search results, as a calm loop next to a clear next action.
Bad fits:
- Blocking the next button until an animation finishes.
- Covering form fields or error messages.
- Replacing instructions with the character's expressions. Text still has to explain what to do.
- Busy motion on every screen. Use it at a few high-value moments.
Apple's launch guidance makes a related point: if you want a branded splash moment, put it at the start of onboarding rather than in the launch screen (Apple HIG). That makes the first onboarding screen a natural home for a greeting.
Which mascot reaction fits each onboarding step?
Think of each step as either a condition (a loop that runs while it is true) or an event (a one-shot that plays and returns). This mapping covers most onboarding flows:
| Step or event | State | Type |
|---|---|---|
| Welcome screen appears | enter, then wave | trigger, then loop |
| User focuses a text field | listening | loop |
| Form submitted, waiting | thinking or loading | loop |
| Step succeeds | success, then happy | trigger, then loop |
| Validation or network error | error, then idle | trigger, then loop |
| Yes/no choice (notifications, tracking) | yes or no | trigger |
| User leaves onboarding | exit | trigger |
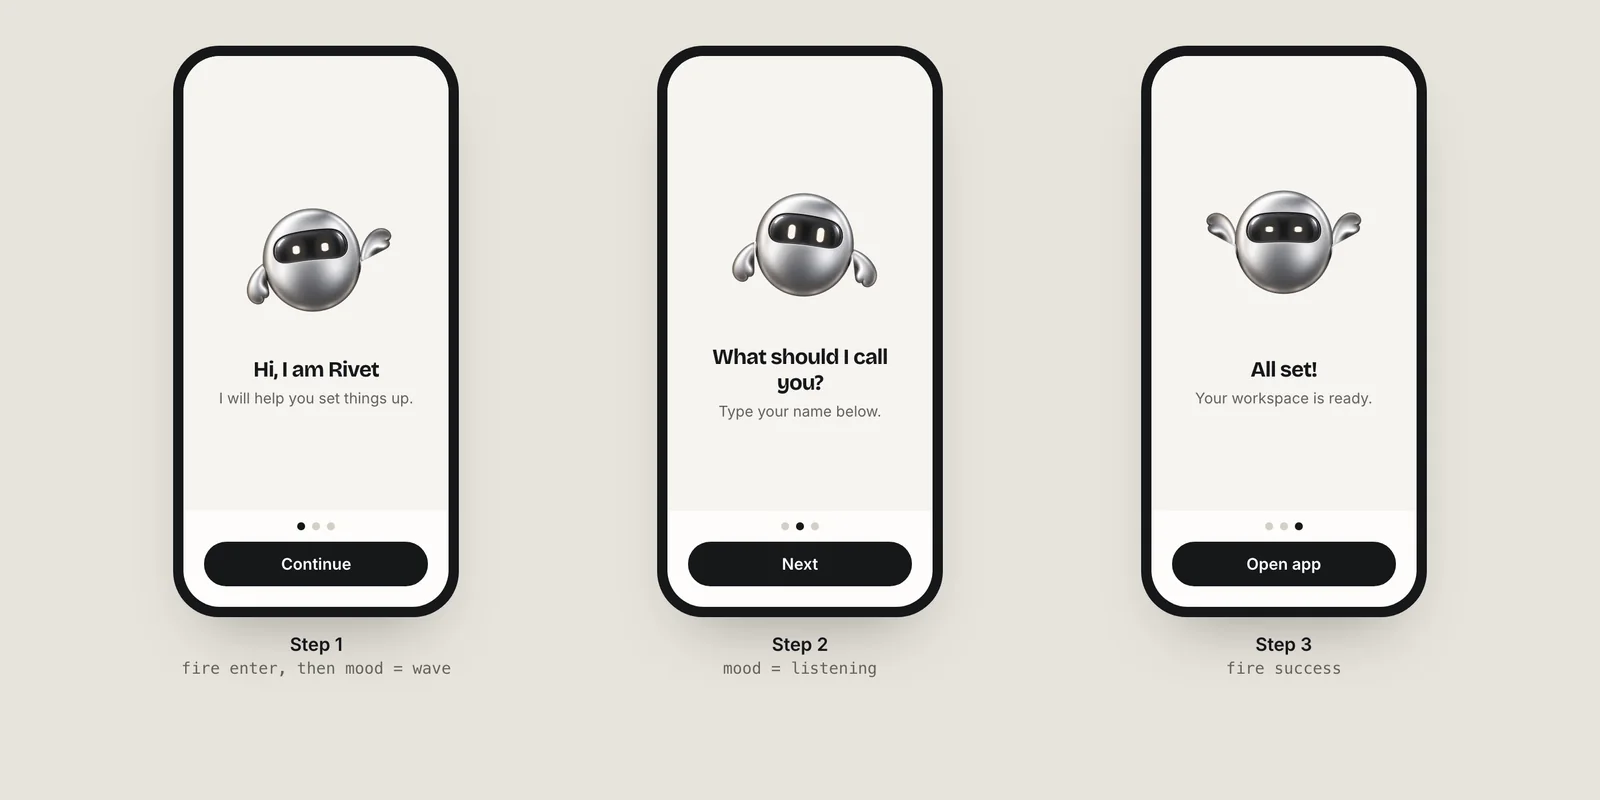
Keep reactions short so they finish before the user moves on, and never wait for a reaction to complete before advancing. For the full catalog of states and timing, see mascot animation states.
Charmotion generates these from one uploaded mascot: ten loops selected by a mood number (0 idle, 1 happy, 2 wave, 3 thinking, 4 sad, 5 loading, 6 listening, 7 talking, 8 sleeping, 9 attention) and six triggers (success, error, yes, no, enter, exit), all in one .riv with web, React and SwiftUI code.
How do you show a mascot on an empty state?
An empty state has three parts: what is missing, why, and what to do next. The mascot sits above or beside those, never instead of them.
<section class="empty">
  <canvas id="mascot" width="160" height="160" aria-hidden="true"></canvas>
  <h2>No projects yet</h2>
  <p>Projects you create or are invited to will show up here.</p>
  <button>Create a project</button>
</section>Choose a calm loop: sleeping or idle suit "nothing here yet," while attention suits "something new is waiting." Different empty states can use different moods with the same file, for example sleeping for an empty inbox and thinking for no search results.
Because the empty state can stay on screen for a long time, watch the accessibility rule for long motion. WCAG 2.2 SC 2.2.2 requires a way to pause, stop or hide automatic motion that lasts more than five seconds alongside other content (W3C). Practical options are to play the loop a few times and then pause on a still frame, add a small pause button, or keep the loop very subtle and stop it entirely under reduced motion.
How do you trigger success and error reactions from app code?
Set the mood when a condition starts and fire a trigger when an event happens. The mascot code should listen to your app's state, not own it. In React with Rive Data Binding, a component can take the step and the last result as props:
import { useEffect } from "react";
import { useRive, useViewModelInstanceNumber, useViewModelInstanceTrigger } from "@rive-app/react-webgl2";

export function Mascot({ mood, result }: { mood: number; result: { kind: "success" | "error"; id: number } | null }) {
  const { rive, RiveComponent } = useRive({
    src: "/character.riv",
    stateMachine: "CharacterViewModelMachine",
    autoplay: true,
    autoBind: true,
  });
  const vmi = rive?.viewModelInstance;
  const { setValue: setMood } = useViewModelInstanceNumber("mood", vmi);
  const { trigger: success } = useViewModelInstanceTrigger("success", vmi);
  const { trigger: error } = useViewModelInstanceTrigger("error", vmi);

  useEffect(() => { setMood(mood); }, [mood, setMood]);
  useEffect(() => {
    if (result?.kind === "success") success();
    if (result?.kind === "error") error();
  }, [result?.id]);

  return <RiveComponent aria-hidden="true" style={{ width: 160, height: 160 }} />;
}
Passing a result with an incrementing id lets the same reaction fire twice in a row, for example two failed attempts. The hook names come from Rive's React runtime (Rive); on plain web, the equivalent is r.viewModelInstance.number("mood").value = 6 and .trigger("success").trigger().
How do you wire it in SwiftUI, Compose and Flutter?
The pattern is identical on every platform: hold one Rive instance per screen and call set-mood or fire-trigger from your view model's events. With the legacy input API:
SwiftUI (legacy Apple runtime, RiveViewModel):
@StateObject private var mascot = RiveViewModel(fileName: "character",
                                                stateMachineName: "CharacterStateMachine")

mascot.view().frame(width: 160, height: 160).accessibilityHidden(true)

// on focus
mascot.setInput("mood", value: 6.0)
// on success
mascot.triggerInput("success")
Android (legacy RiveAnimationView, also usable from Compose through AndroidView):
riveView.setNumberState("CharacterStateMachine", "mood", 6f)
riveView.fireState("CharacterStateMachine", "success")Flutter:
final sm = controller.stateMachine;
sm.number("mood")?.value = 6;
sm.trigger("success")?.fire();
These calls come from Rive's legacy input docs for Apple, Android and Flutter. Rive now recommends Data Binding for new work; the new Apple runtime only supports Data Binding. For reduced motion, read accessibilityReduceMotion in SwiftUI and the equivalent system setting elsewhere, then show a still image instead of the animation.
How do you know the mascot is helping?
Treat the mascot like any other onboarding change and measure it. Useful signals:
- Completion rate of each onboarding step, before and after.
- Time per step. If it rises, an animation may be slowing people down or drawing attention away from the form.
- Empty-state conversion: how often users click the primary action on an empty screen.
- Qualitative feedback from a few usability sessions, watching for people waiting on the character.
Keep the mascot optional in the code path: if the file fails to load or reduced motion is on, the screen must still read and work perfectly with a static image or no image at all. That fallback also keeps first launch fast on slow connections.
For splash-to-onboarding handoffs, see the launch and splash animation guide.
How to add a mascot to onboarding and empty states
- List the moments. Write down each onboarding step, each empty screen, and the events in between: focus, submit, success, error, skip.
- Assign states. Give each condition one looping mood and each event one trigger, for example listening on focus and success on a completed step.
- Add one instance per screen. Place the mascot canvas or view beside the content, hidden from screen readers, with fixed dimensions.
- Wire your events. Set the mood and fire triggers from existing view model or component state, never blocking navigation on an animation.
- Handle motion settings. Pause long empty-state loops after a few cycles or offer a pause control, and show a still pose under reduced motion.
- Measure. Compare step completion, time per step and empty-state clicks before and after.
Frequently asked questions
Should the onboarding mascot talk?
Only if speech adds something text cannot. A talking loop is useful for voice or assistant flows. For typical onboarding, short text plus a reaction is clearer, works with screen readers, and avoids lip-sync work. Keep all instructions in real text either way.
Which mood suits an empty state?
A calm one. Sleeping or idle fits "nothing here yet"; attention fits "something new is waiting." Pair it with a heading, a one-line explanation and a primary button, and pause the loop after a few cycles so it does not run indefinitely.
Do I need a separate file for each onboarding step?
No. A Rive state machine holds all the states in one file, and you switch between them with a number for loops and triggers for reactions. That keeps the download small, the character consistent across screens, and transitions between states smooth because they live in the same file.
What if the mascot fails to load?
The screen should still work. Reserve the space, show a static image or nothing, and keep every instruction and action in regular text and buttons. Treat the animation as an enhancement, never a dependency, and test the screen once with the file blocked to confirm it.
Quick answers from this guide
Sources
- Launching — Apple Human Interface Guidelines
- Understanding SC 2.2.2: Pause, Stop, Hide — W3C WAI
- React runtime — Rive
- Data binding (web runtime) — Rive
- Inputs (Apple runtime, legacy) — Rive
- Inputs (Android runtime, legacy) — Rive
- Inputs (Flutter runtime, legacy) — Rive
- accessibilityReduceMotion — Apple Developer Documentation